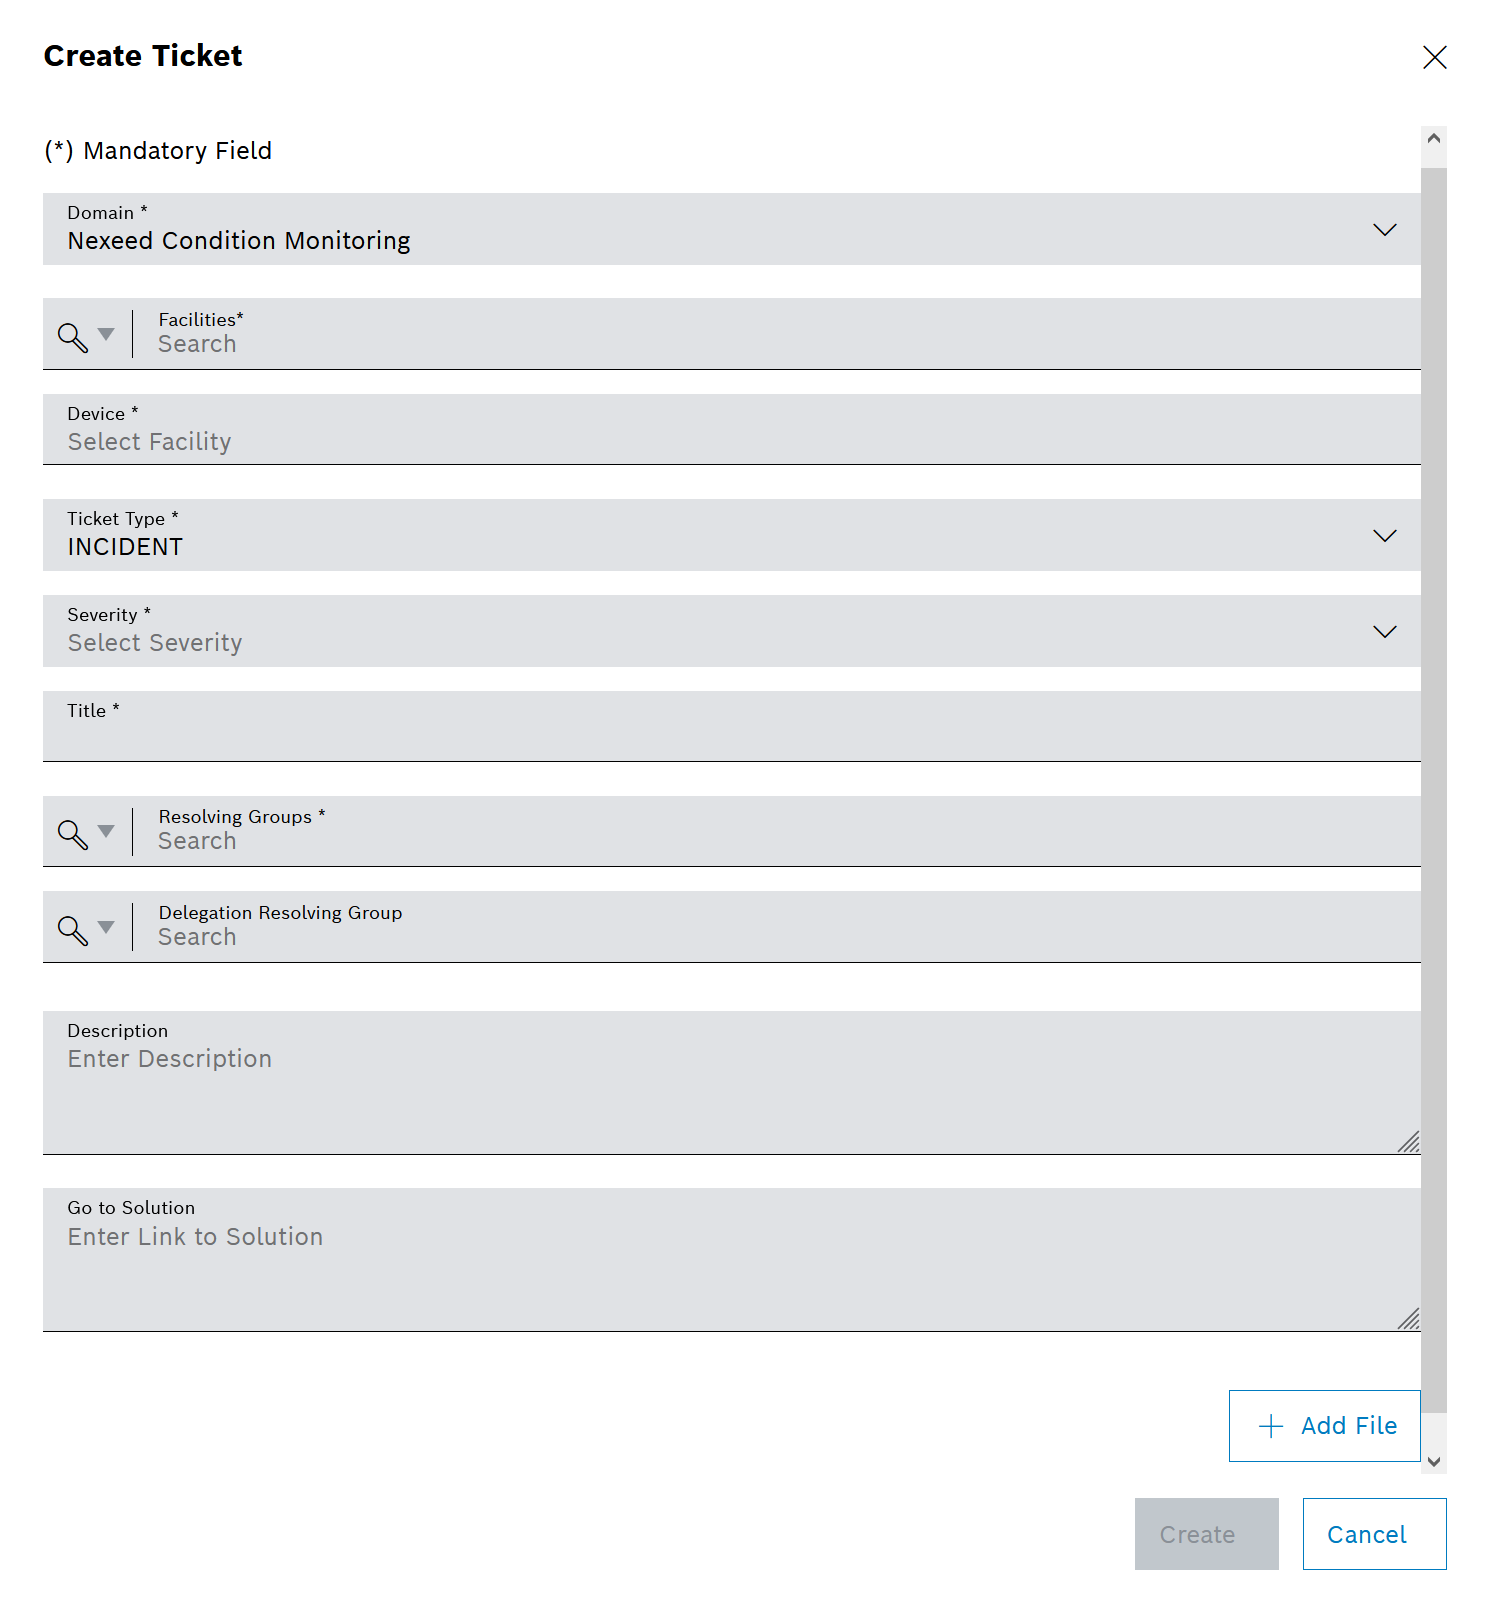
If additional properties are defined for the selected domain, they are displayed in the dialog window next to the Domain field.
Select the settings for the Nexeed Condition Monitoring domain in the following drop-down lists:
- Equipment
- Device
- INCIDENT:
In the Severity drop-down list, select the severity for the ticket. - PLANNABLE (plannable task):
In the Processing time field, specify the date and time by which the ticket must be resolved.
The Resolving Group to be selected must have been previously added in the Access Management > Groups menu and assigned to at least one user.
The Delegation Resolving Group to be selected must have been previously added in the Access Management > Groups menu and assigned to at least one user.
If no Delegation Resolving Group is selected, the ticket is assigned to the default resolving group DEFAULT_ESCALATION_GROUP.