Images can be uploaded separately to the map view at any position or added to locations, buildings, halls, stations and storage locations. Adjusting the image to the map view can help drivers navigate their way around individual locations, such as a hall.
Prerequisite
Transport management administrator or Transport management logistics planner role
Procedure
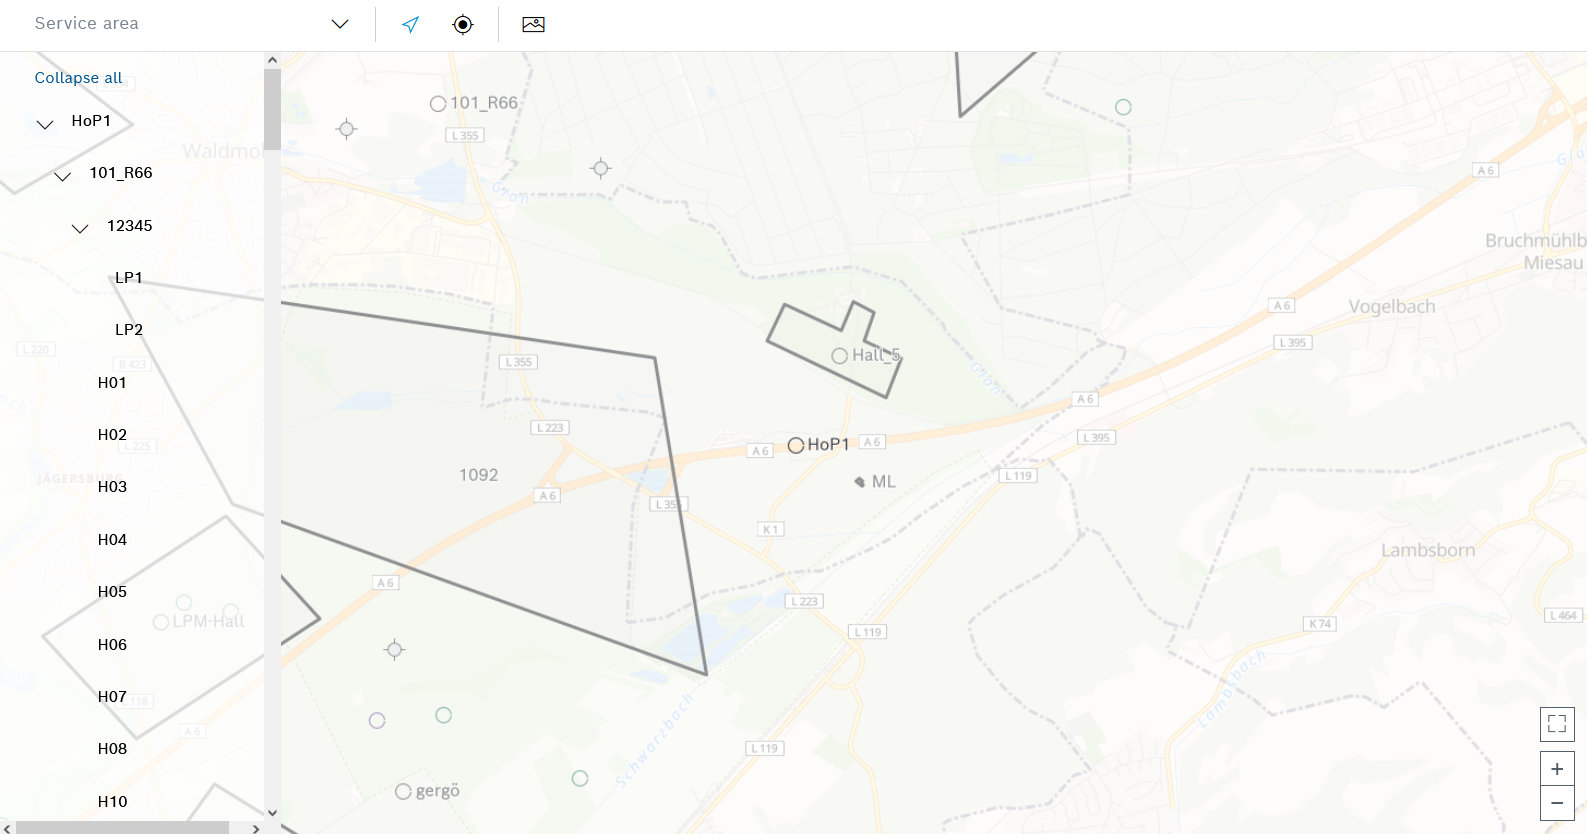
Call up the Maps > Locationsmenu.
If necessary, select the required location in the hierarchy of locations to which you want to add the image.
An image can also be uploaded to the map view without being added to a location.
Activate the image editing in the header by clicking .
The image editing tool appears in the header.
Select the file manager in the header with the image editing tool.
Select the required image in the file manager and open it.
Images must be in *.png or *.jpg file format. The image size is limited to 1 MB.
The uploaded image appears in the map view.
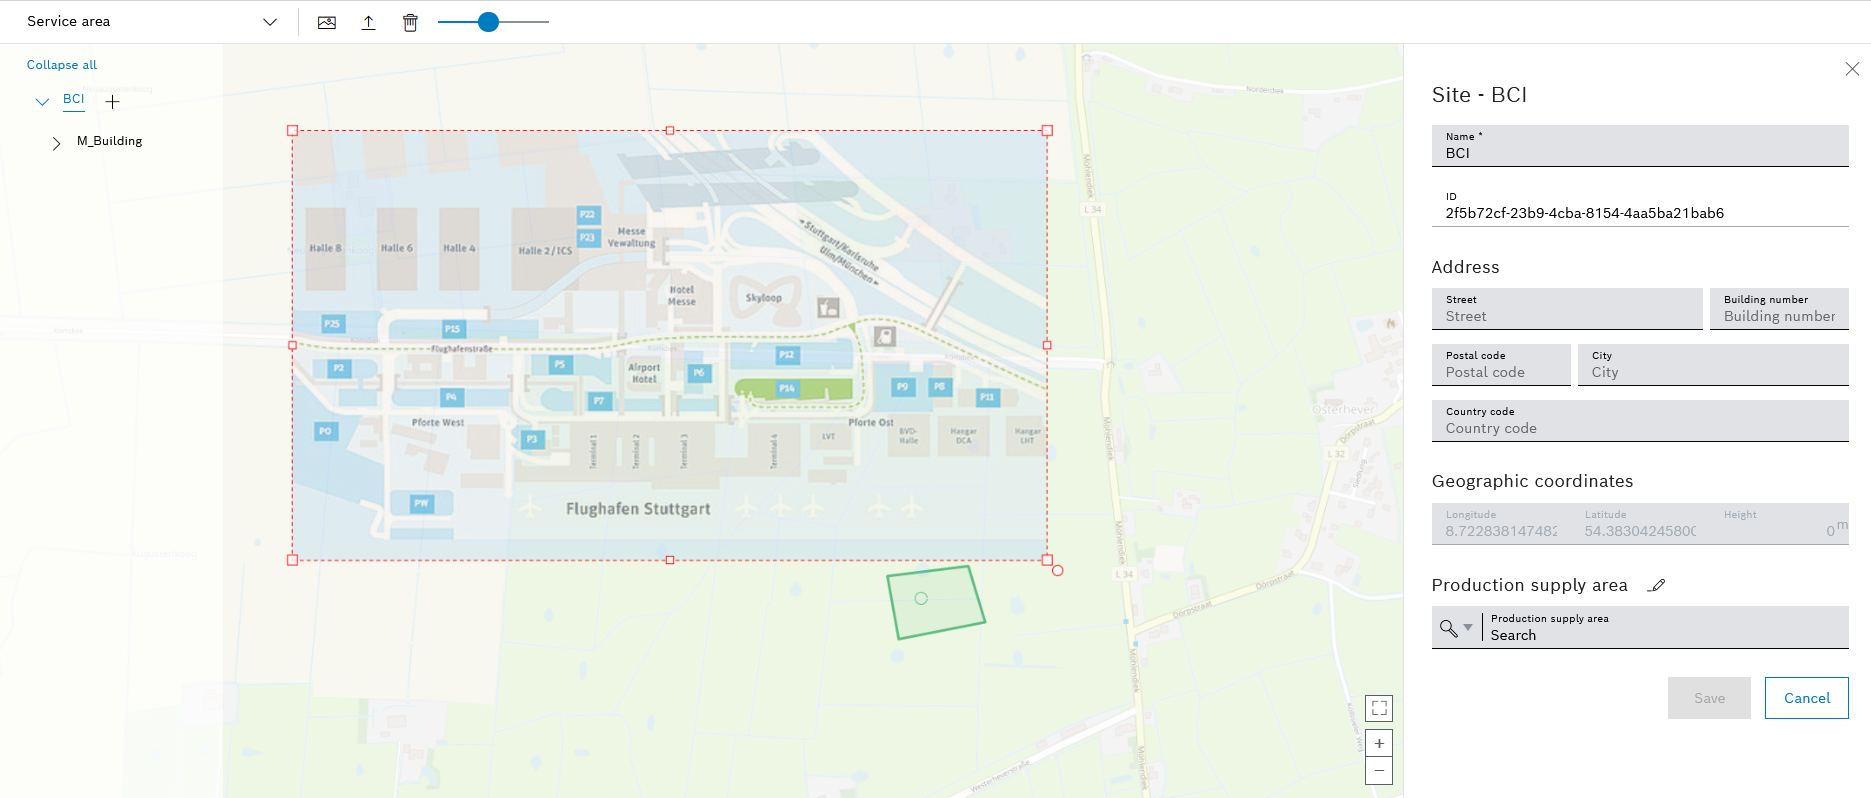
Select a new image in the map view.
The selected image is outlined in red.
Adjust the size of the image using the red handles.
To scale the height and width of the image proportionally to each other, hold down the [SHIFT] key while dragging the image larger or smaller.
Rotate the image using the red circle at the bottom right corner.
The image rotates around its center.
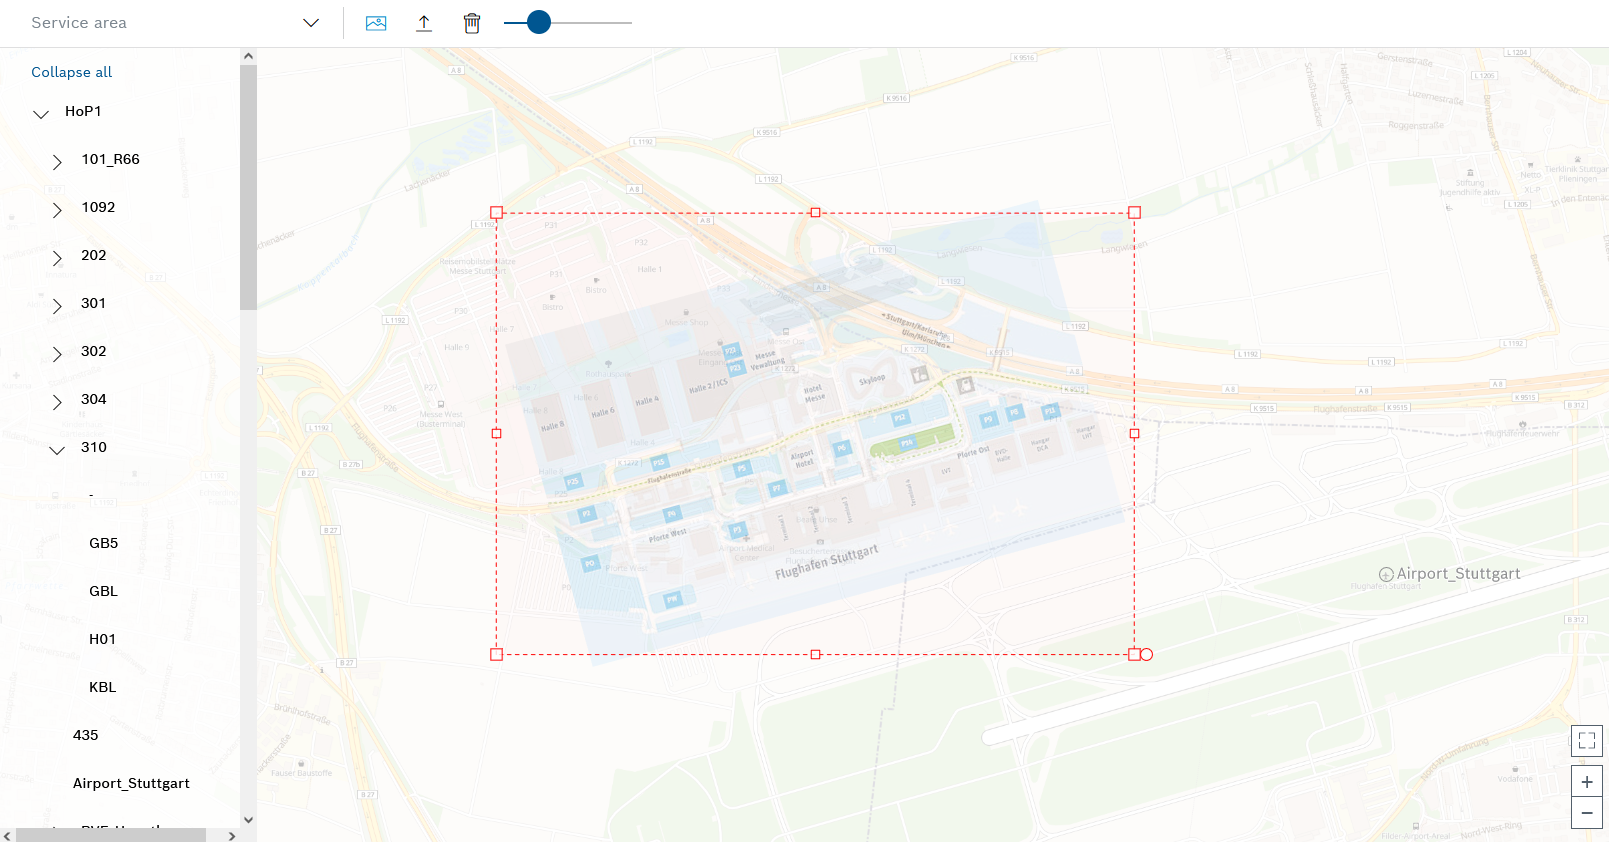
Use the slider in the header to adjust the opacity of the image.
To save and close the image editing, click in the header.
The image can be edited again if necessary: Select the image and press in the header to activate image editing.
The image can be deleted: Select the image in the map view and click in the header.
The image is added to the map view and, if applicable, the location and fitted.