Boundaries can be added to each building, hall, station and storage location. Boundaries represent the outlines of the location in the map view.
A location cannot have boundaries.
Requirements
Transport management administrator or Transport management logistics planner role
At least one hall is added to a location.
Procedure
Call up the Maps > Locationsmenu.
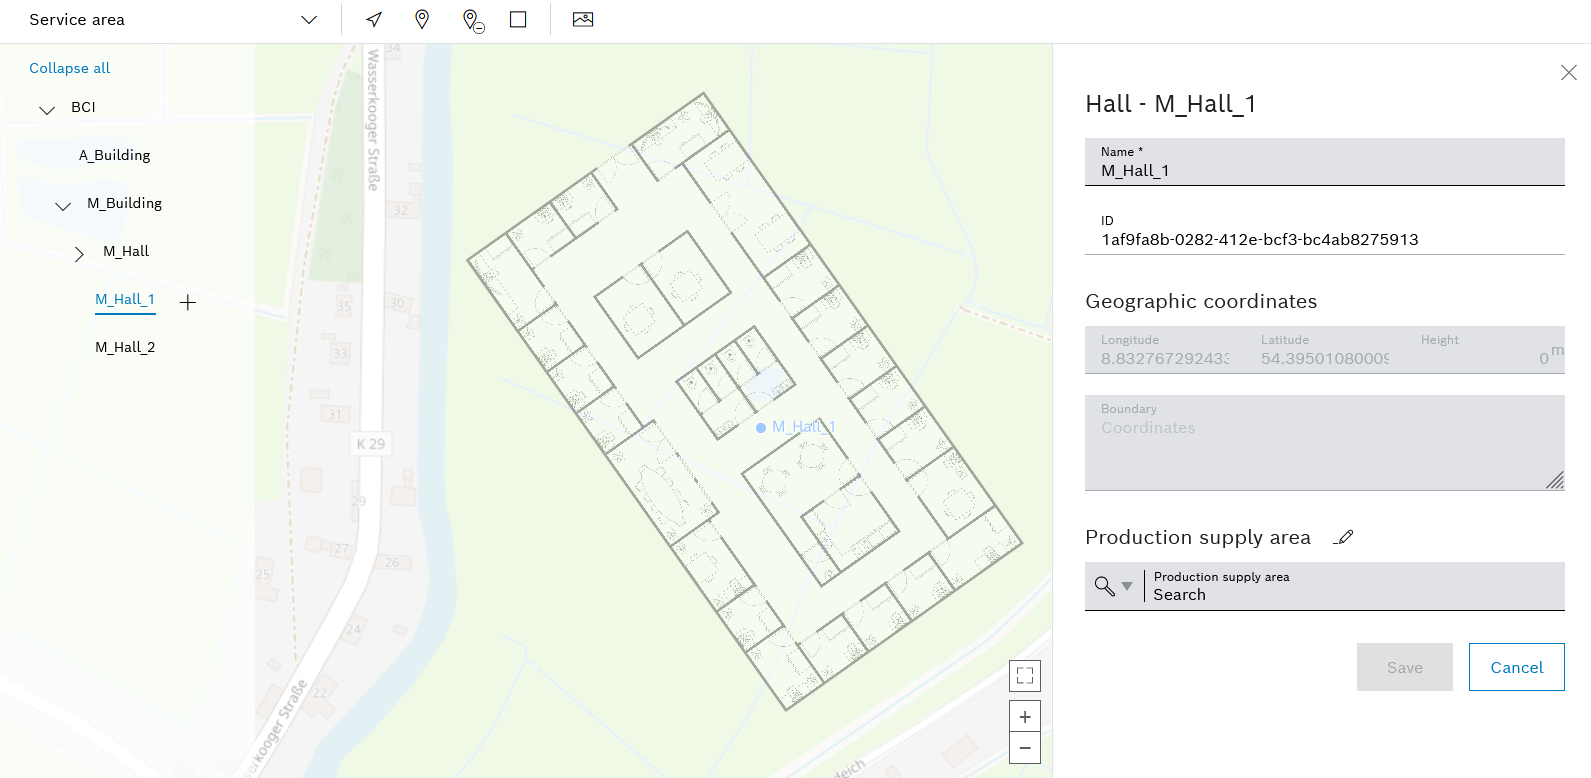
Select the required location (building, hall, station or storage location) in the hierarchy of locations.
Example: Hall
The detailed view of the location appears on the right-hand side.
To add a boundary to the location, click in the header.
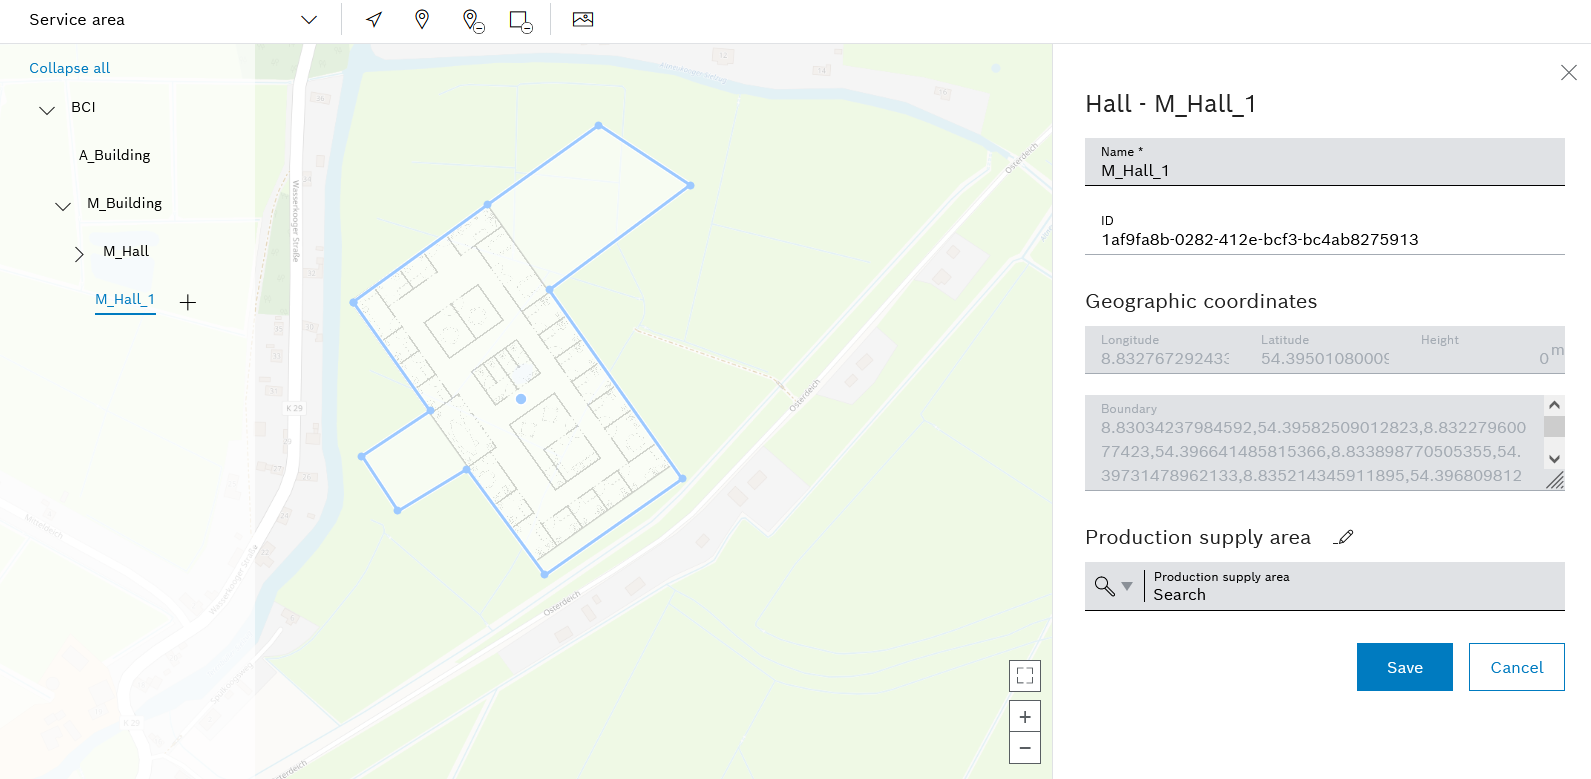
In the map view, click to create the boundary in the form of a polygon:
Connect the first point of the boundary to the last point.
The boundary is represented by blue outlines and handles at each corner.
To edit the boundary, move the handles while holding down the mouse button.
To remove the boundary, click in the header.
only appears when a boundary has been created.
Click Saveto apply the boundary to the location.
The boundary is added to the location and adjustments are saved. In the detailed view, the coordinates of the individual handles of the boundary are automatically saved under Geographic coordinatesin the Boundarytext field. The boundary is visible in the map view.