The Add Identity Provider dialog appears with the Add or Import step.
The following figures show the respective sub-areas of the dialog window.
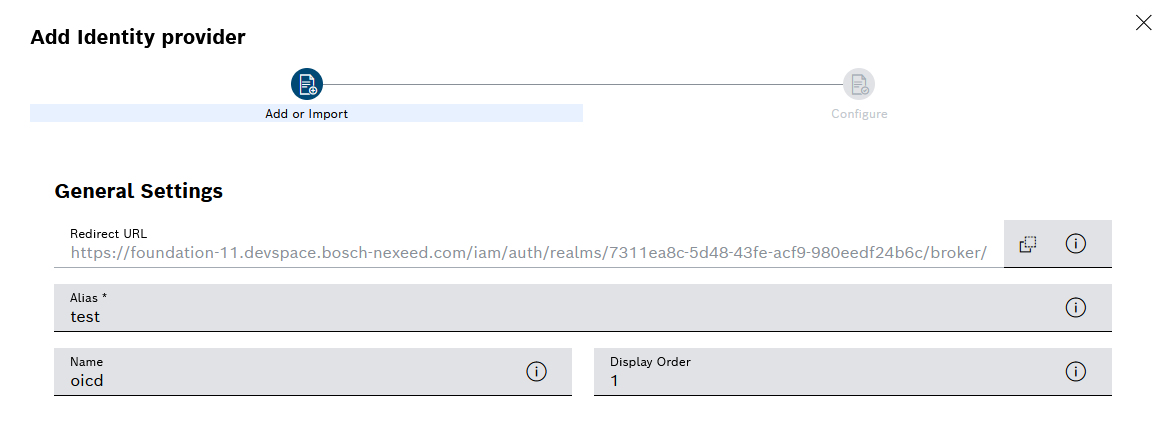
The Alias is defined when the identity provider is created and can then no longer be changed.
The Redirect URL is generated by the identity provider and cannot be changed.
The display name is displayed on the login page.
The smaller the number, the higher the identity provider is displayed in the list on the login page (1 = position 1).
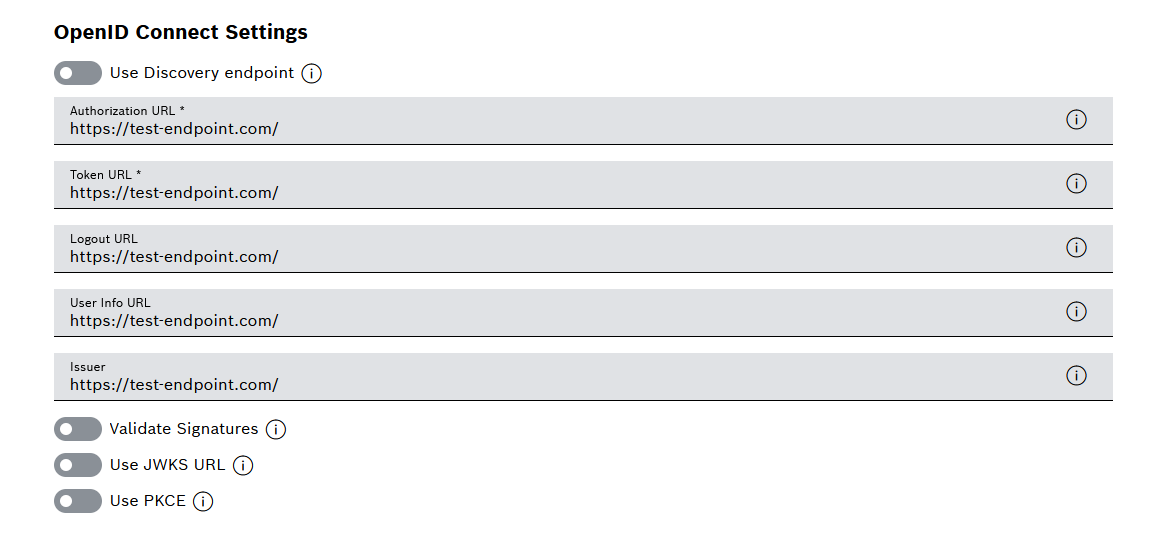
If a Discovery Endpoint is used, the following fields are filled out automatically.
The Authorization URL is provided by the identity provider. Upon login to Nexeed IAS, it forwards the user to the identity provider for authentication and authorization. The Authorization URL confirms the identity of the user and grants the necessary permissions to access Nexeed IAS.
The Token URL is provided by the identity provider. It connects the identity provider to Nexeed IAS and enables the transfer of authentication and authorization data in the form of access tokens. When a user logs in, Nexeed IAS sends a request to the identity provider to obtain an access token.
The Logout URL is provided by the identity provider. It forwards the user to the identity provider when logging out of Nexeed IAS. The identity provider performs the logout process and deletes the user's authentication information.
The User Info URL is provided by the identity provider. It is used to retrieve additional information about the user (e.g. name and email address).
The URL of the Publisher is provided by the identity provider. This URL uniquely identifies the identity provider as the publisher of the access token and validates it during the login process. This ensures that the access token originates from the identity provider.
The Validate Signatures function validates the signature of the access token from the identity provider. This ensures that the token has not been manipulated and that it comes from a trusted publisher.
The Use JWKS URL function stores the public keys used to validate JSON web tokens. The JWKS URL is a URL that points to a JSON file containing the public keys. The identity provider uses the JWKS URL to obtain the public key and validate the access token.
The PKCE function is an extension of the authorization protocol OAuth 2.0. It is used to ensure that the authorization code is only used by Nexeed IAS.
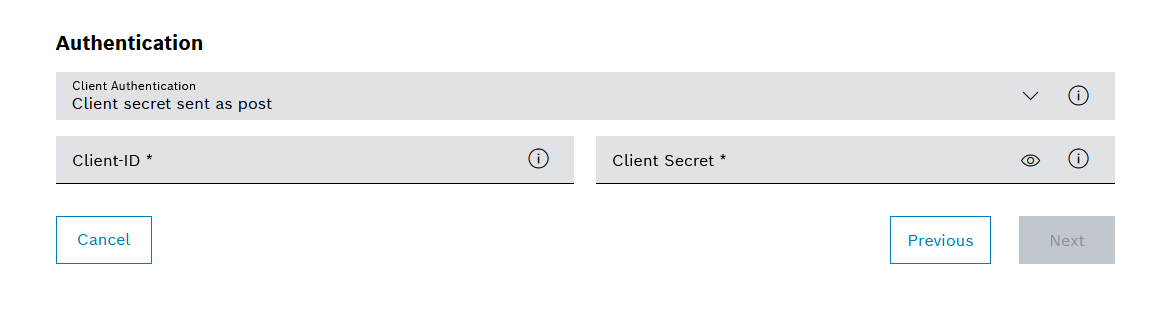
- Client Secret Sent via Basic Auth
The client secret is a secret key provided by the identity provider. The client secret is sent as part of the authorization header from the client (Nexeed IAS) to the identity provider for authentication. Sending the client secret to the identity provider as an authorization header prevents the client secret from being visible in the URL string or in other parts of the request.
- Client Secret Sent via POST (default value when creating an identity provider)
The client secret is sent as a POST body from the client (Nexeed IAS) to the identity provider for authentication. Sending the client secret to the identity provider as a POST body prevents the client secret from being visible in the URL string or other parts of the request.
- Client Secret as JWT
The client secret is sent to the identity provider as a JSON Web Token (JWT). A JWT is a JSON object that contains a digital signature and is used to transfer information between the sender and the recipient. Sending the client secret to the identity provider as a JWT prevents the client secret from being visible in the URL string or in other parts of the request.
- JWT Signed with Private Key
Similar to Client Secret as JWT. With this function, the JSON Web Token (JWT) is additionally signed with a private key. Signing the JWT with a private key ensures that the JWT has not been manipulated and that it comes from the sender who signed it.
The Client ID is provided by the identity provider. The Client ID identifies the client. After logging in, the client is authorized to access protected resources.
The Client Secret is a secret password provided by the identity provider. The Client Secret ensures that only authorized and authenticated applications can access protected resources.
The Configuration step appears.

The Backchannel Logout function allows the user to simultaneously log out of all services connected to the identity provider (single logout).
If this function is disabled, additional information about the user (such as name and email address) can be transmitted.
Scopes define which information a client (Nexeed IAS) can retrieve from an identity provider. Scopes ensure that only authorized clients with the necessary permissions can access this information.
This function allows you to forward additional parameters to the identity provider. These parameters can be used to perform authentication or to obtain additional information about the user.
This function determines the procedure upon first login with the identity provider. The term "First Login" means that no account is associated with the identity.
- Import (default value when creating an identity provider)
The user information is synchronized once when a user logs in for the first time.
- Legacy
Use current settings.
- Force
The user information is synchronized upon every login.