The content and scope of the configuration wizard depends on the respective connector package. The steps described below are examples, and so these can differ.
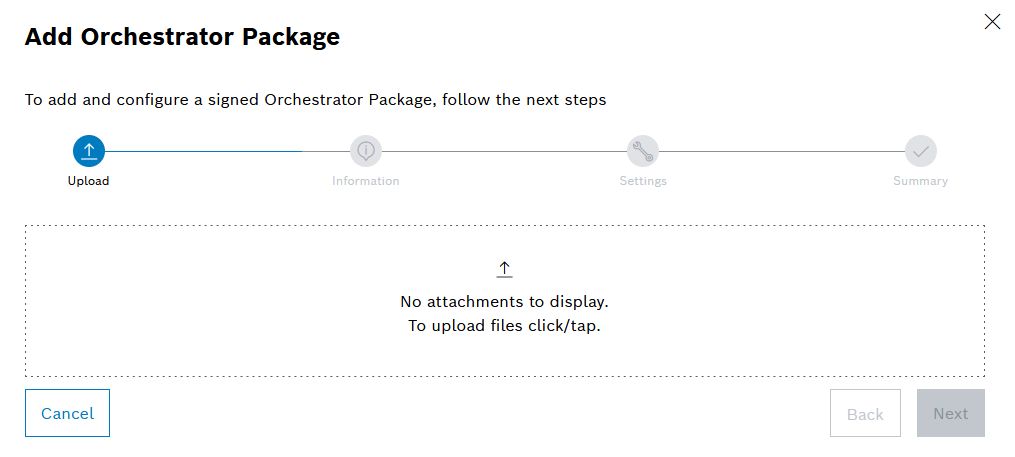
The file is uploaded and checked.
The orchestrator packages can only be provided manually via file exchange for the time being, as there is no general online storage location in the current version as of yet.
The standard orchestrator packages (signed .zip archives) are provided by BCI. Only orchestrator packages signed by BCI can be uploaded in this way.
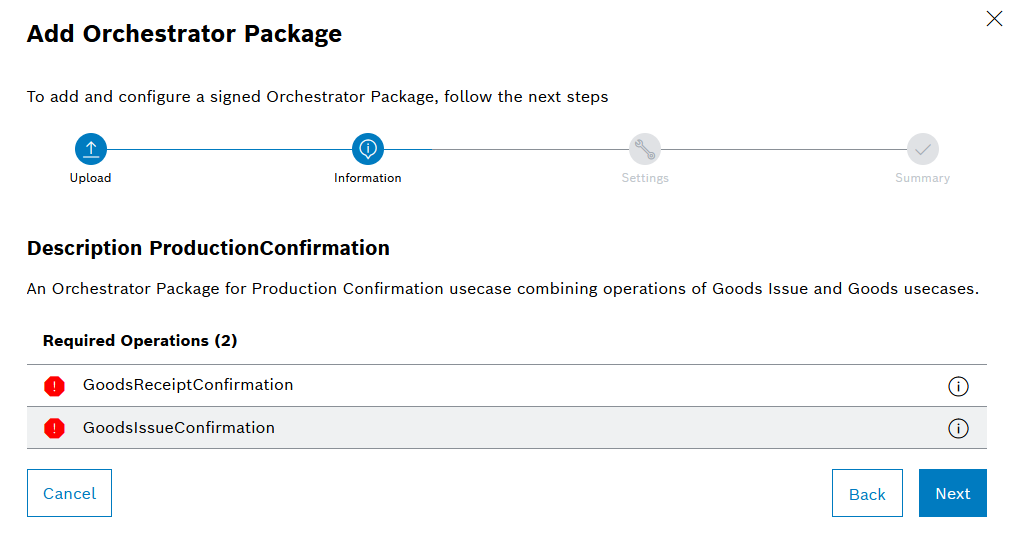
The Information step provides a description of the functionality of the uploaded orchestrator package. A tabular overview shows the required operations that are necessary to execute the respective orchestrator package. An operation is provided via the connector package. The status of the operations is also displayed.
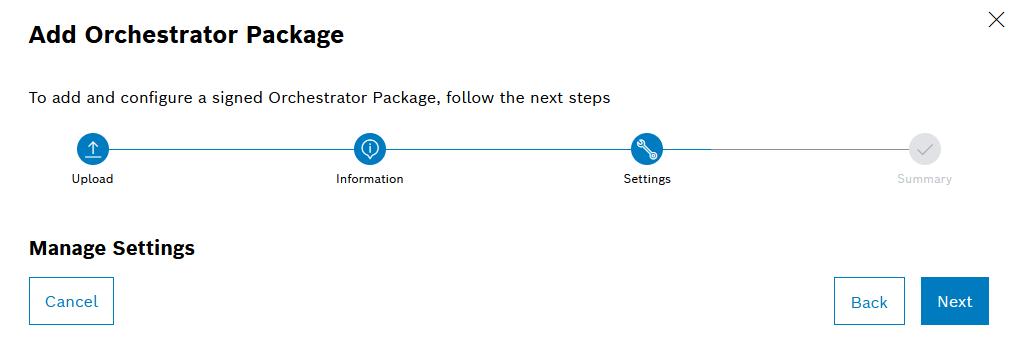
Depending on the respective orchestrator package, the input fields can be validated automatically. Information about erroneous entries is displayed below the input fields.
The Summary step displays the created API endpoint.
