Call up the Tool management > Tool control > Typestab.
Select type.
In the detail view, open the Positions tab.
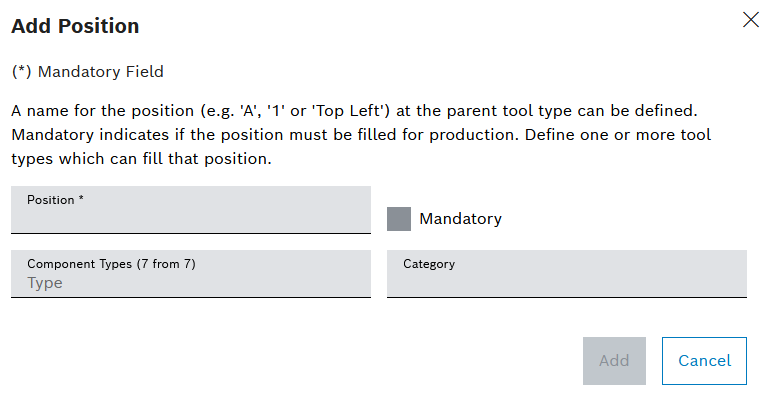
Create position with .
Enter the name of the Position.
If it is necessary to attach a component at the position for operation, activate the Required checkbox.
To remove a component type, use to remove the component type.
To add a component type that can be attached to the position:
Enter the name of the component type in full or in part inComponent types.
Select a component type.
The categories can be used to group positions for the hierarchy. For example, for more complex tool or component types, assemblies can be grouped into categories to provide a better overview of the hierarchy. Categories already used are displayed in a drop-down list.
To assign the position to a category, enter or select Category.
Create the position with Add.
The position is shown in the Tool management > Tool control > Typestab in the detailed view of the type in the Positions tab.