The Create Subscription dialog window is displayed with the General step.
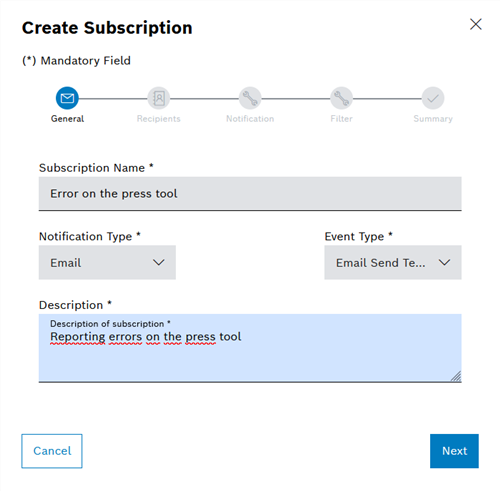
Entering a subscription name that is as unique and specific as possible enables faster identification and reduces the risk of duplicates (different subscription names with the same content).
The Create Subscription dialog window is displayed with the Recipients step.
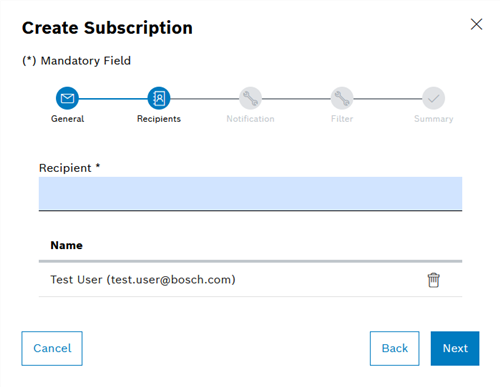
After you have entered one or more characters of a recipient name, a list of all recipients will be displayed which contain the relevant characters or the relevant character sequence.
- Email notification type: Enter one or more email addresses as the recipient. Use a semicolon as a separator between the email addresses.
- Printer notification type: Enter the e-mail address of a printer.
For printer output, the event to be printed must contain a PDF file as an attachment. Only the PDF file is printed.
- Push notification type: If the sending of push messages was approved during the initial login to the IAS system, push messages are sent to the device stored in the system.
Push messages can only be set up retrospectively by an administrator.
The Create Subscription dialog window is displayed with the Notification step.
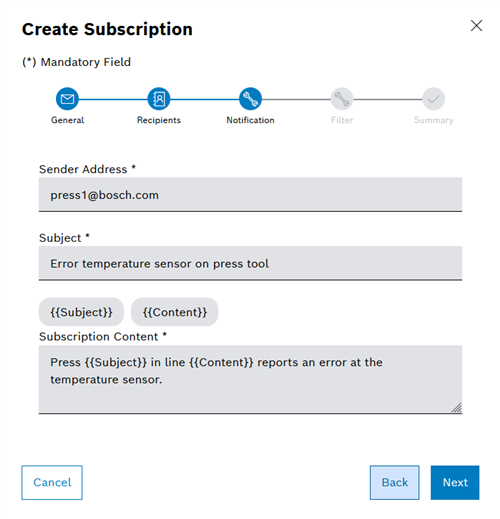
In the system configuration, you can specify whether the Sender Address text field is pre-populated with an editable or non-editable default address.
If Push is selected as the notification type, this text field is omitted.
The information entered here is sent as the header of a notification. In the case of the notification type Email, this content appears as the email subject.
The dynamic content within brackets is provided by the respective module and can be used to specify event messages.
The Create Subscription dialog window is displayed with the Filter step.
The filter function allows you to create filter rules based on AND and OR links. Filter rules can be used to precisely specify and limit events that a subscription should contain.
The selected link type is highlighted in blue.

Any number of clauses can be created. A clause includes one rule in each case. Each rule consists of a variable (left), an operator (center) and a value (right).
In example 1, the subscription includes all events whose Ticket Title is either Error OR Malfunction.
The selected link type is highlighted in blue.
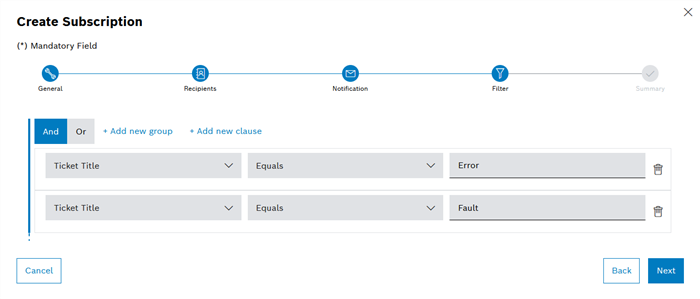
In example 2, the subscription includes all events whose Ticket Title is Error AND Malfunction.
Groups can be used to combine AND links and OR links. Groups can be used to establish nesting on multiple levels.
Any number of nesting levels can be created in the form of groups and subgroups.
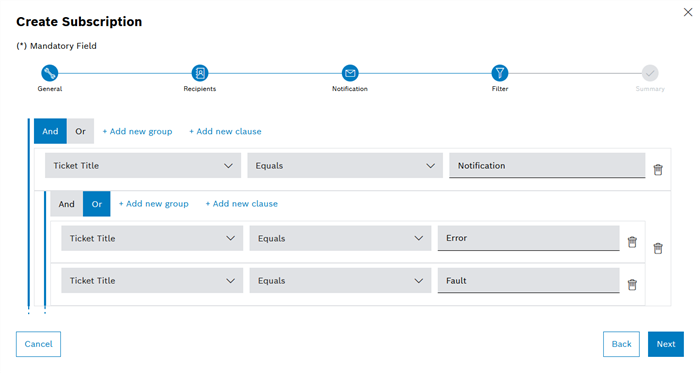
In example 3, the subscription includes all events whose Ticket Title is Message AND all events whose Title is either Error OR Malfunction.
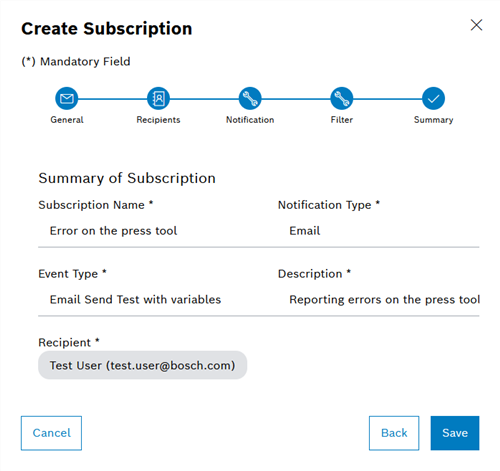
The Create Subscription dialog window is displayed with the Summarystep.