The overview of the existing workflows is displayed (Workflows Tab).
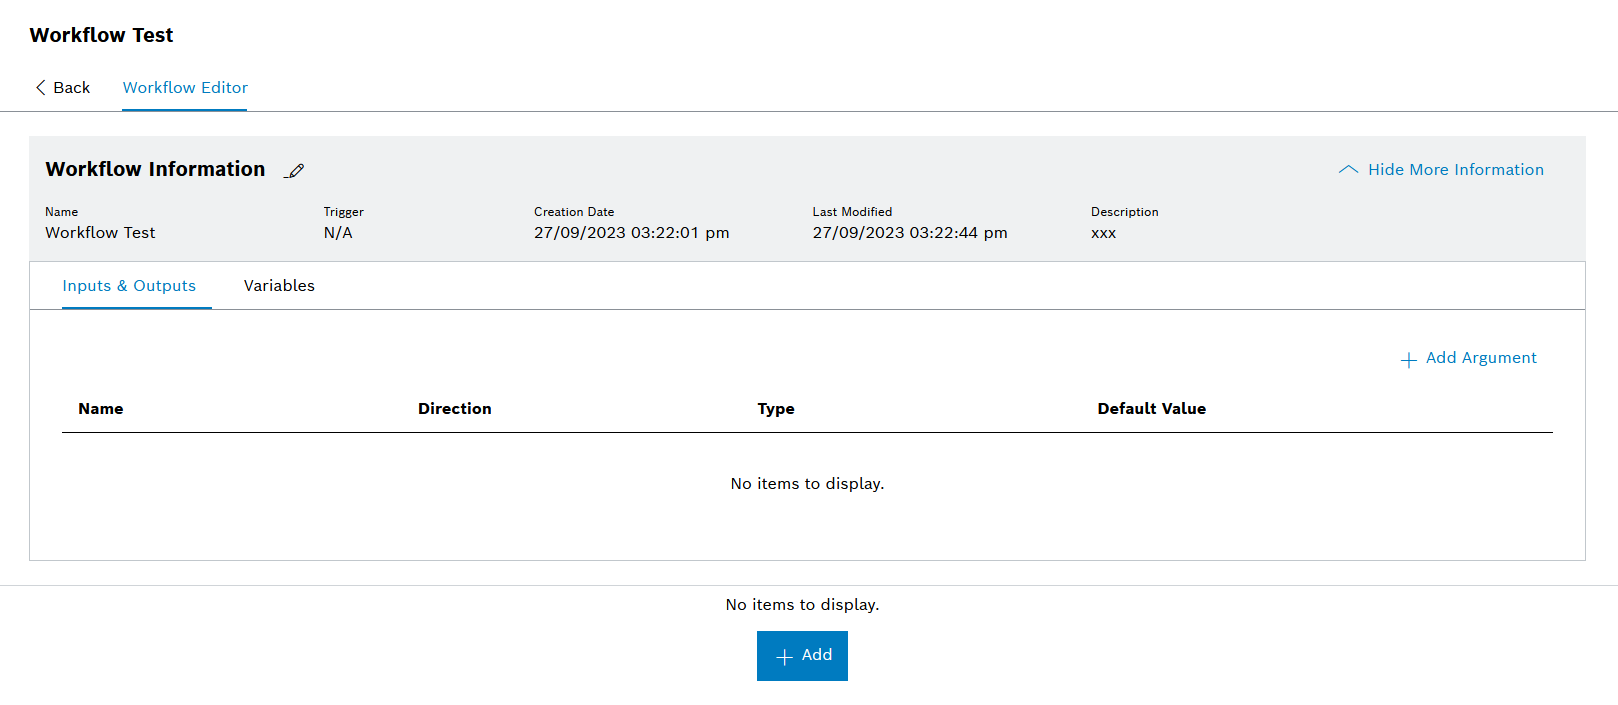
The workflow is opened in the Workflow Editor (Workflow Editor Overview)
The Workflow Editor consists of a header, an expandable detailed area and a work area.
The detailed area is displayed.
Or:
To create an input or output function, open the Inputs and Outputs tab.
The Add New Argument dialog window is displayed.
In the example, an input or output function is created.
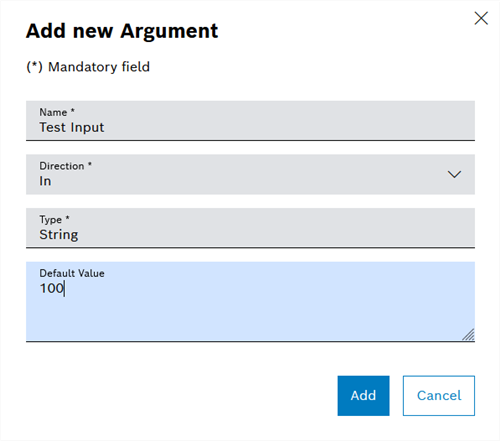
If the request from a station goes in the direction of a Nexeed module, select In. If information from a Nexeed module goes in the direction of a station, select Out.
Selecting the Type determines which data type the argument is to use.
String: Any character string (letters, numbers and special characters)
Integer: Integer values without decimal points/places
Boolean: Truth value that can be either TRUE or FALSE.
In addition to the three specified data types, you can also enter your own data types in the Type field.
The new argument is displayed in the detailed area of the workflows under the Inputs and Outputs tab.
Any number of arguments can be created.
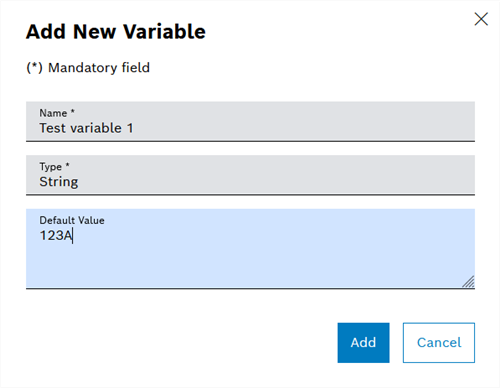
The Add Variable dialog window is displayed.
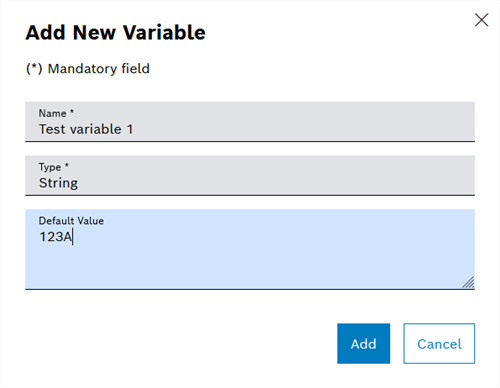
In addition to the three specified data types, you can also enter your own data types in the Type field.
The new variable is displayed in the header of the workflows under the Variables tab.
Any number of variables can be created.