Only files created from a supplied template can be imported as a product assembly plan. The template can be downloaded, edited and uploaded during the process.
A file can be used for multiple products and multiple product assembly plans.
The file is in *.xslx format.
The file of a product assembly plan must be created on the basis of a supplied template. This template can be downloaded, edited and saved under the name of the product assembly plan in the Import product assembly plan dialog window.
This step can be skipped if the file of the product assembly plan has already been created on the basis of a supplied template.
The product assembly plan is available as a *.xslx file.
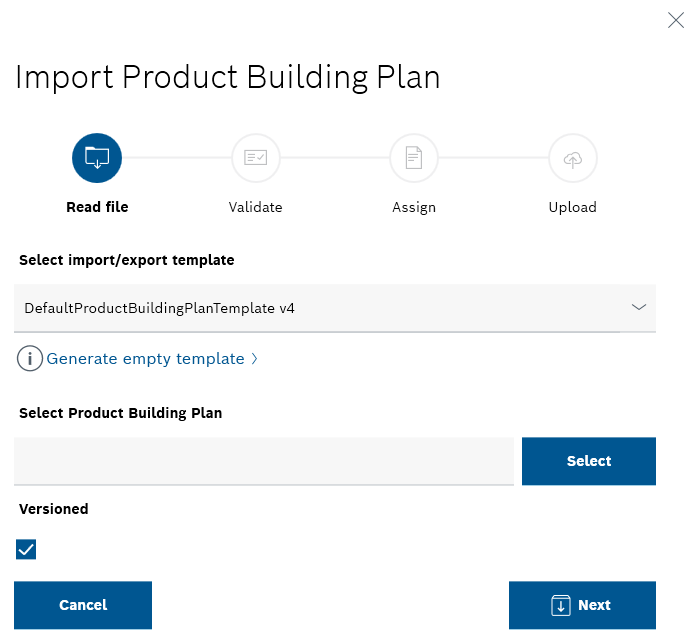
- Select the template used for the file from the Select an import/export template drop-down list in the Import product assembly plan dialog window in the Read file step.
- Click on Select.
The file manager opens.
- Select and open the product assembly plan (*.xslx file) in the file manager.
The selected file path appears in the Select product assembly plan input field.
- Click Next to upload the file and go to the next step Validation.
The file is being read. The wait cursor appears while the read process is in progress.
If the Nexeed Product Setup Management client is exited during this step, Excel can continue to run in the background and block the file that should be imported. The import is canceled due to the error caused by this.
The Next button is disabled while the read process and initial checks are running.
The time required for reading and checking is proportional to the size of the imported file.
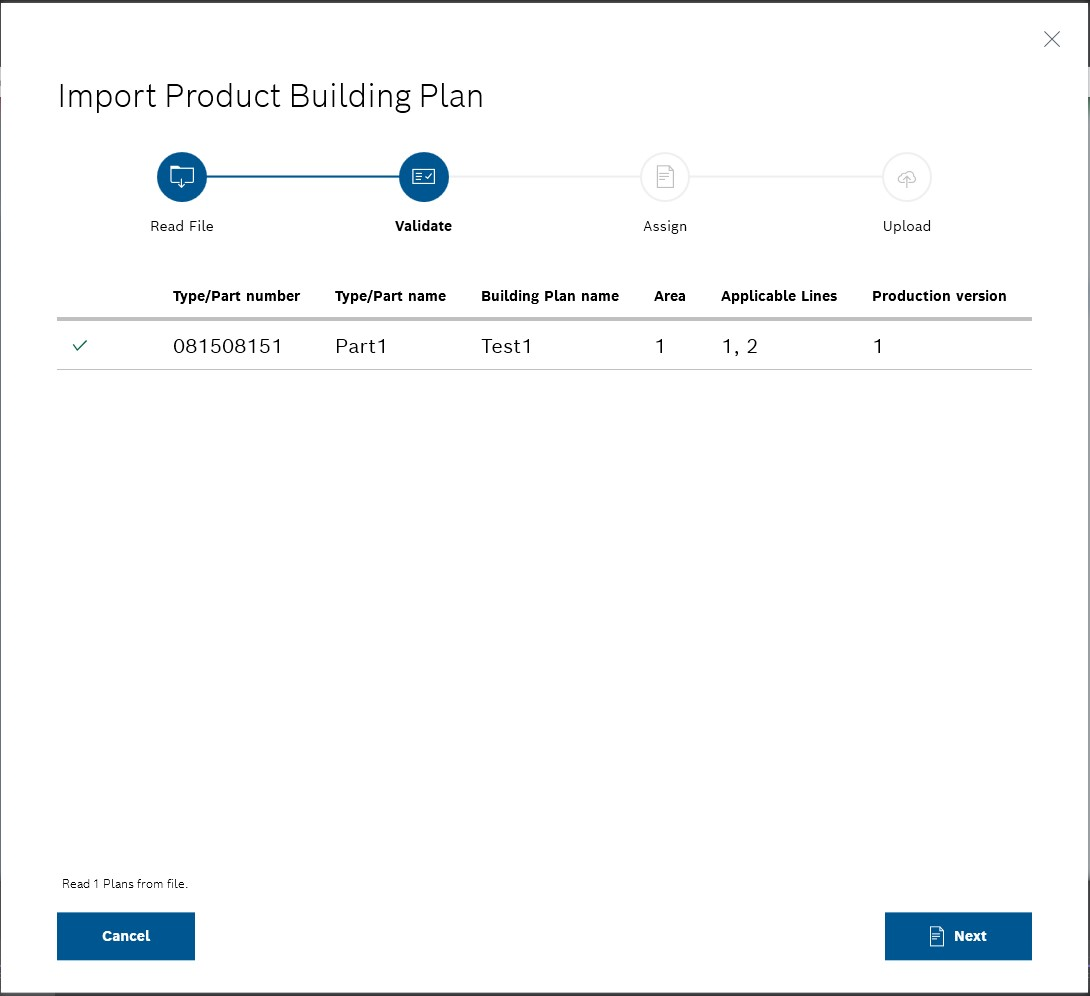
After the checks have been completed, the product assembly plan read from the file is displayed with the type/item number of the product.
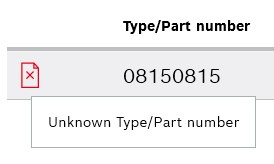
One of the following icons is displayed to the left of the type/item number:

Fault: The product assembly plan cannot be imported.
Warning: The product assembly plan already exists and cannot be imported again.
OK: The product assembly plan can be imported.
Only product assembly plans with can be imported. If you continue with Next, the product assembly plans are not imported using and . If no product assembly plans are available with , the process cannot be continued.
- Move the mouse pointer over the icon to display the details of the result.
Some messages are not localized.
- Go to the Assignment step using Next.
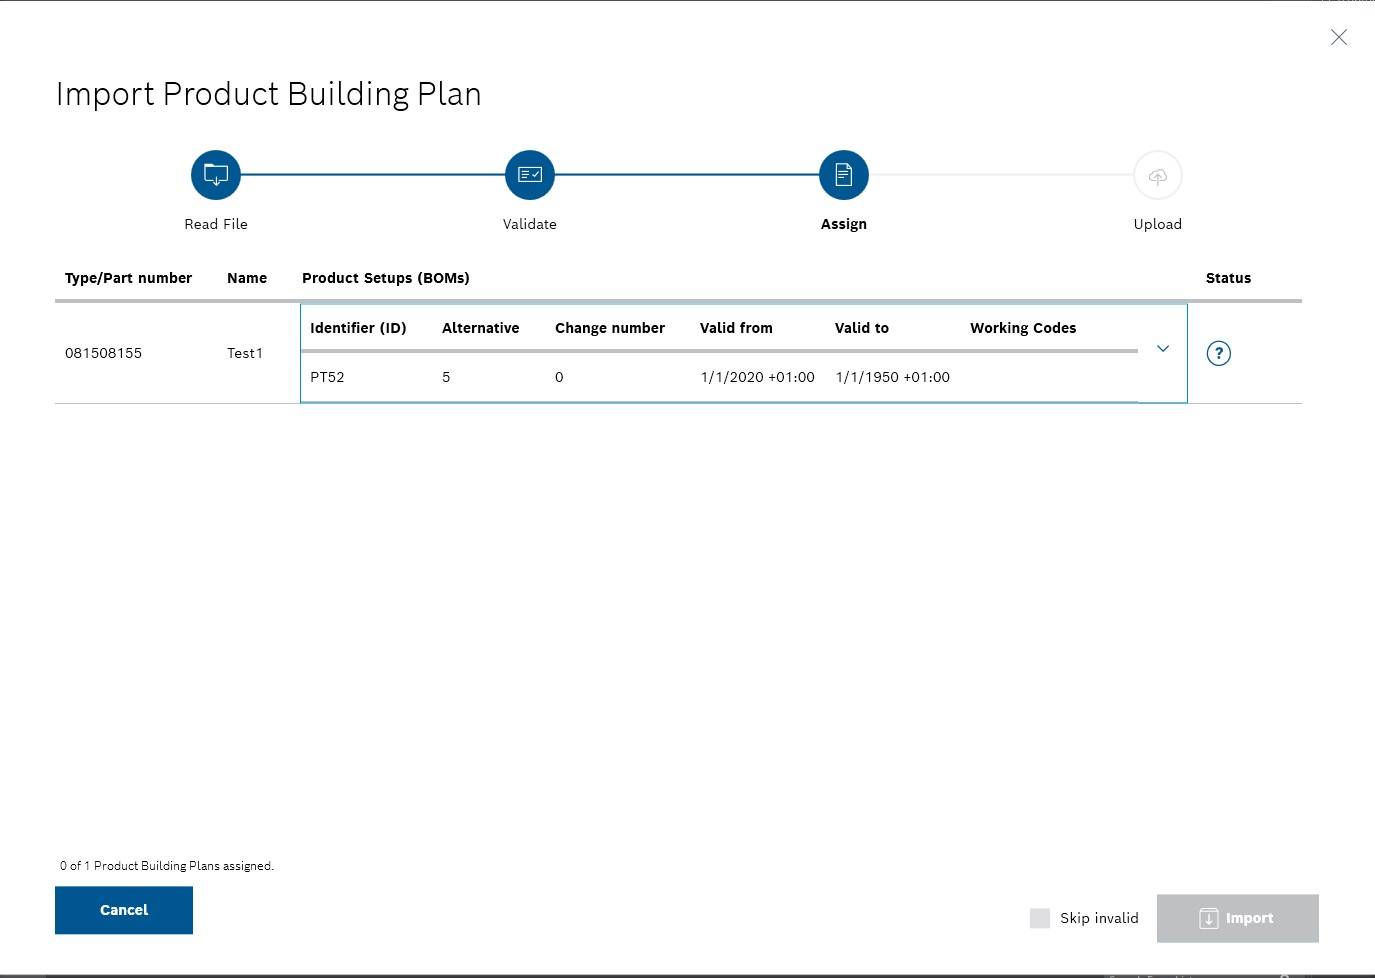
The status of the product and the link to a product parts list are displayed on the right in the table under Status. The following statuses are possible:
If only one product parts list is available for the type/item number, the product assembly plan with the same type/item number is automatically assigned to it.
In the expanded list of versions and variants of product parts lists, it is not possible to select or deselect a product parts list to prevent an incorrect assignment.
- If multiple product parts lists are possible for linking a product assembly plan, select the desired version or variant of the product parts list of the product.
The status of a possible link is displayed again as an icon in the row of the selected product parts list. Move the mouse pointer over the icon to display the details of the result.
If a product assembly plan has been assigned to at least one product parts list or if the Skip invalid checkbox has been checked, the Import button is activated.
- Click Import.
The Upload step is displayed.
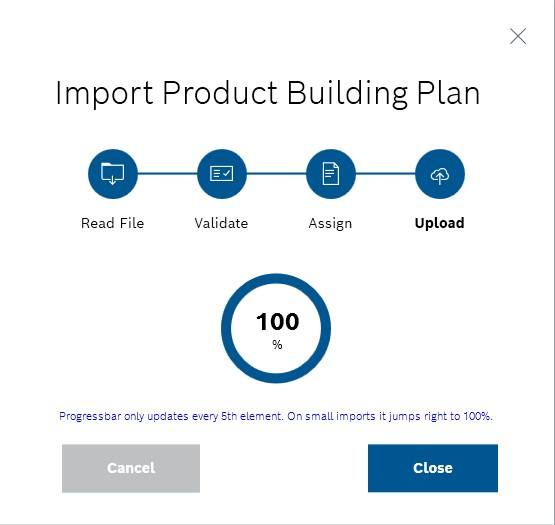
If the import is canceled at this time, the uploaded product assembly plans are retained in the Nexeed Product Setup Management client. Only the outstanding product assembly plans are discarded. The client displays a prompt to confirm this action.
Once the import is complete, the Cancel button is deactivated and the Close button is activated.
- Exit the operation using Close.
The products appear in the overview of the product assembly plans and the product assembly plans are listed under the relevant product in the Variants/versions view.